Rusa Drink Recipe | Refreshing Mexican Citrus Beverage
Craving a tropical escape in a glass? Let me introduce you to my Rusa Drink Recipe, a vibrant, fruity beverage that perfectly balances the sweet tang of pineapple and orange juice with a splash of grenadine and lime. This refreshing drink is perfect for hot summer days, casual gatherings, or anytime you want a zesty, tropical pick-me-up.
With its gorgeous layered look and refreshing taste, the Rusa Drink is as visually appealing as it is delicious. Whether you enjoy it with friends or serve it at a party, it’s a drink that always steals the spotlight.
Preparing the Rusa Drink
Making a Rusa Drink is refreshingly simple, yet it’s all about layering the flavors for that perfect tropical taste. I always start by gathering all my ingredients to make the process smooth and fun.
Step 1: Mix the Base Ingredients
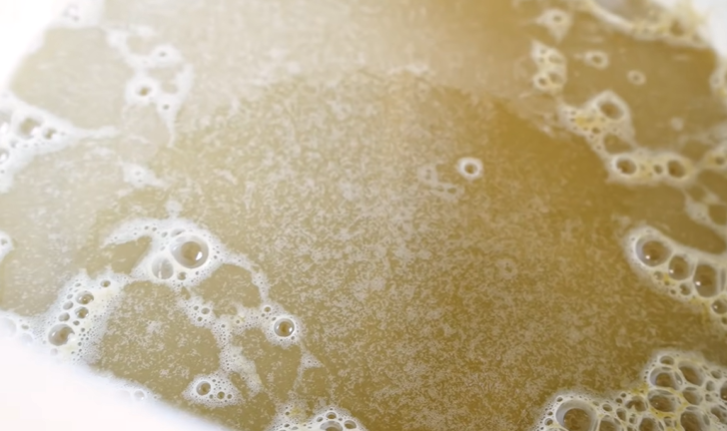
First, I combine the orange juice, pineapple juice, grenadine syrup, and lime juice in a large mixing bowl. Using a spoon, I stir them gently to create a harmonious fruity blend. The grenadine adds a lovely sweetness and a hint of red that gives the drink a tropical sunset look.
Step 2: Chill with Ice
Next, I fill an ice cube tray with water and freeze it until solid. Once the ice cubes are ready, I add them to the juice mixture. This keeps the drink refreshingly cold without diluting the flavors too much. I like to use plenty of ice because it enhances the chill factor, especially on a hot day.
Step 3: Add Lemon-Lime Soda
Just before serving, I pour in the lemon-lime soda. The fizz gives the Rusa Drink a sparkling lift and balances the sweetness of the juices. I stir gently to combine the soda without losing its bubbles.
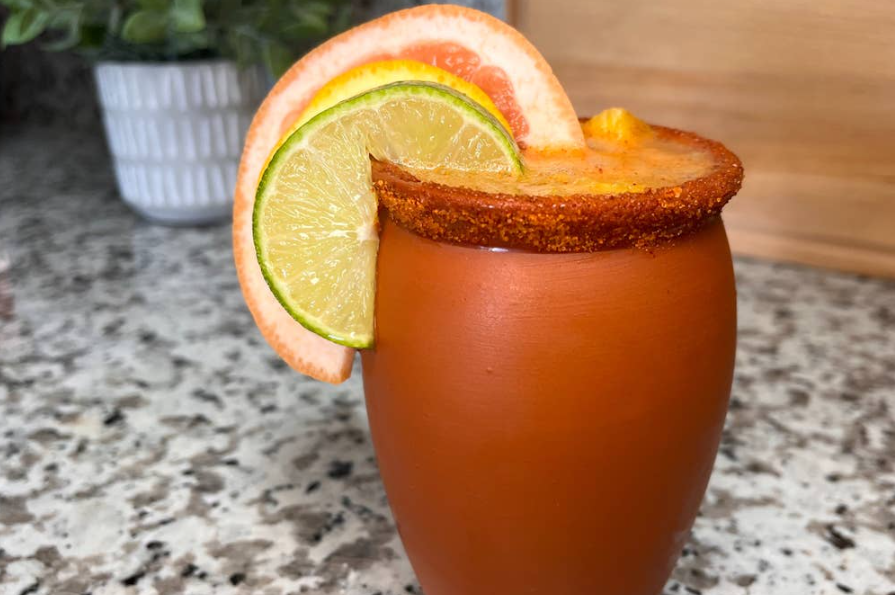
Step 4: Garnish and Serve
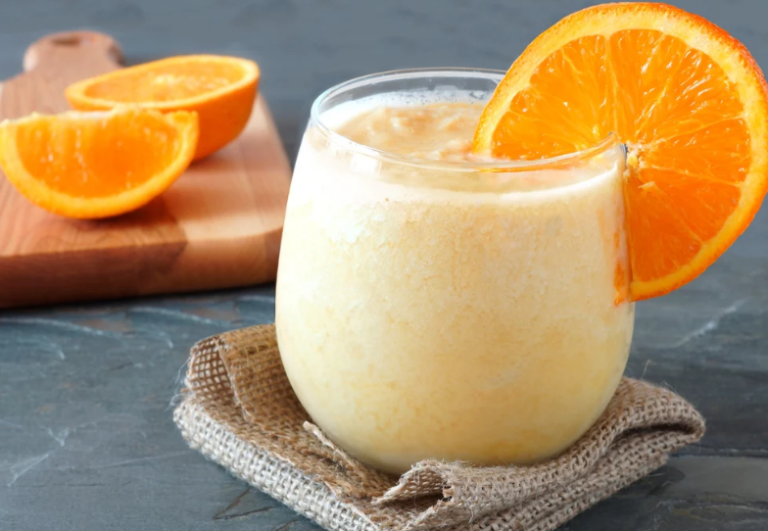
Finally, I place a few lime slices in each glass and pour the prepared Rusa Drink over them. The lime adds a zesty aroma and a touch of elegance. Sometimes, I like to decorate with a slice of pineapple or orange for a colorful tropical flair.
Notes and Tips
- Choose fresh, ripe fruits: The natural sweetness makes a massive difference in flavor.
- Chill your glass: A cold glass keeps the drink colder for longer.
- Adjust ice amount: Add more ice for extra chill or less if you prefer a stronger fruit flavor.
- Decorate creatively: A slice of lime, orange, or pineapple makes your drink look as amazing as it tastes.
Serving the Rusa Drink
Serving a Rusa Drink is where the fun really begins! Presentation matters just as much as flavor, and I love to make this tropical beverage look as vibrant as it tastes.
Suggested Glassware
I recommend using tall glasses to showcase the drink’s beautiful colors. Highball or hurricane glasses work perfectly. You can even use mason jars for a casual, fun twist. The glass should be chilled for an extra refreshing sip.
Creative Garnishes
Adding a garnish not only enhances the appearance but also complements the flavors:
- Lime Slices: Classic and zesty, a few slices inside the glass bring a fresh aroma.
- Pineapple Wedge or Orange Slice: Adds a tropical vibe and a pop of color.
- Mint Leaves: Optional, but a sprig of mint makes it look fancy and refreshing.
Tips for Serving
- Serve immediately after adding soda to keep the fizz lively.
- Stir gently just before drinking to mix the flavors without losing carbonation.
- For parties, prepare the base mixture ahead of time, chill it, and add ice and soda right before serving.
Making the Experience Extra Special
I like to turn serving the Rusa Drink into a mini tropical celebration:
- Freeze some of the fruit juices into cubes to keep the drink chilled without dilution.
- Offer colorful straws or cocktail umbrellas for a fun, tropical touch.
- Pair the drink with light snacks like fruit skewers, mini sandwiches, or cookies to create a whole tropical treat experience.
By paying attention to presentation and small details, the Rusa Drink becomes more than just a beverage; it’s a mini tropical escape in a glass!
Storage Instructions
Even though the Rusa Drink is best enjoyed fresh, sometimes you may want to prepare it in advance. Here’s how to store it properly:
Keeping the Base Fresh
Store the mixed juices and grenadine in an airtight container in the refrigerator for up to 24 hours. Avoid adding the soda or ice cubes until just before serving, as this keeps the fizz intact and the drink refreshingly cold.
Freezing for Later
You can freeze the juice mixture in ice cube trays to create flavored ice cubes. These cubes can later be added to the drink to chill it without diluting the flavor. This also adds a fun, fruity twist as the cubes slowly melt.
Variations of Rusa Drink
Want to experiment? Here are a few ways I like to personalize my Rusa Drink:
- Tropical Berry Twist: Add a splash of cranberry or passion fruit juice for extra color and tang.
- Alcoholic Version: Mix in a shot of rum or vodka for a tropical cocktail version.
- Extra Fizzy: Use sparkling water instead of lemon-lime soda for a lighter, fizzy experience.
- Fruit Punch Style: Add diced tropical fruits like mango, pineapple, or kiwi for a visually stunning punch.
These variations let you customize the drink to your taste or the occasion.
Rusa Drink Recipe
Ingredients
Video
Notes
Required Kitchen Tools
When making a Rusa Drink, having a few simple tools ensures a smooth preparation:- Mixing Bowl: To combine all the fruit juices and syrups easily.
- Measuring Cups: Accurate measurements help balance the flavors perfectly.
- Ice Cube Tray: To make the ice cubes that keep your drink refreshingly cold.
- Glassware: A tall glass works best to showcase the beautiful colors of the Rusa Drink.
- Spoon or Stirrer: To gently mix the ingredients without losing the fizzy soda bubbles.
FAQ: Rusa Drink Recipe
What is a Rusa Drink?
The Rusa Drink is a tropical, fruity beverage made with pineapple juice, orange juice, grenadine, lime juice, and lemon-lime soda. It’s refreshing, lightly fizzy, and perfect for summer or any casual gathering.
Can I make the Rusa Drink in advance?
Yes! You can prepare the juice mixture in advance and store it in the refrigerator for up to 24 hours. Add ice and soda just before serving to maintain its fizz and freshness.
Can I make a non-alcoholic version?
Absolutely! The classic Rusa Drink is naturally non-alcoholic. For an adult twist, you can add a splash of rum or vodka, but it tastes incredible as-is.
How can I make the Rusa Drink extra cold without diluting it?
Freeze the juice mixture in ice cube trays and use these flavored ice cubes instead of regular ice. This keeps the drink chilled while slowly releasing more tropical flavor.
What fruits work best for garnish?
Lime slices, orange wedges, pineapple chunks, or even fresh berries make excellent garnishes. They not only enhance the visual appeal but also complement the tropical flavors.
Can I adjust the sweetness of the Rusa Drink?
Yes. The grenadine adds sweetness so that you can increase or decrease it according to your taste. For a less sweet version, reduce grenadine and add more lime juice for a zesty twist.
How many servings does this recipe make?
This recipe serves 2–3 glasses, depending on the glass size. You can easily double or triple the ingredients for a larger batch.
Can I make a sparkling version without soda?
Yes! Use sparkling water or club soda instead of lemon-lime soda for a lighter, fizzy option.
Conclusion
Making a Rusa Drink is one of the easiest ways to bring a tropical getaway into your home. With fresh juices, fizzy soda, and a splash of grenadine, this vibrant drink is both refreshing and visually stunning.
Whether you’re serving it at a summer party, enjoying it on a quiet afternoon, or experimenting with variations, the Rusa Drink always delivers a sweet, tangy, and tropical experience. By following this guide, you can enjoy a perfectly balanced, refreshing beverage every time.
So grab your ingredients, chill your glasses, and sip your way to a tropical paradise with this delicious Rusa Drink Recipe!

Sally Mckenney is a dedicated baking enthusiast and dessert lover who creates and shares delicious cake recipes and practical baking tips on Daily Bake Lab. Her passion for sweet treats inspires home bakers to explore new flavors and enjoy the art of baking.