Pickled Ham Hocks Recipe | Tangy & Old-Fashioned
Craving a dish that combines old-world tradition with hearty comfort? My Pickled Ham Hocks recipe is a true classic, rooted in European and Southern cooking traditions. The slow-pickling process transforms simple ham hocks into tender, flavorful bites packed with rich, savory goodness. Whether you serve them over sauerkraut, simmer them into a hearty bean soup, or enjoy them with collard greens, these pickled ham hocks are sure to warm both heart and belly.
This recipe may take a little patience, about 10 days of curing, but trust me, the result is worth it. The meat becomes deeply seasoned, slightly tangy, and fall-off-the-bone tender after a slow simmer. If you’ve been looking for an authentic way to cook ham hocks, this recipe is the perfect guide.
Preparation & Marinating Process
Preparing pickled ham hocks is all about patience and care. The curing process takes time, but it’s what gives the meat its signature tangy and savory flavor. Here’s how I do it step by step:
Step 1: Make the Pickling Solution
In a considerable or stockpot, combine 2 gallons of water, 1 pound of pickling salt, and 1 teaspoon of saltpeter. Stir until the salt is fully dissolved. This will become the corn solution that infuses the ham hocks with flavor over time.
Step 2: Submerge the Ham Hocks
Place the fresh ham hocks into the solution, making sure each piece is completely covered. If they tend to float, set a heavy plate or weight on top to keep them fully submerged.
Step 3: Refrigerate for 10 Days
Cover the container and refrigerate for 10 full days. This is where the magic happens. The brine slowly penetrates the meat, giving it that deep, seasoned taste you can’t get any other way.
Step 4: Drain and Rinse
After the 10-day curing period, drain and discard the brine solution. Rinse each ham hock thoroughly under cold running water to remove excess salt and prep them for cooking.
Now your ham hocks are perfectly marinated and ready to simmer with aromatics!
Cooking Instructions
Now that the ham hocks are cured, it’s time to transform them into a tender, savory dish. This part is where the flavors deepen, and the meat becomes fall-apart delicious.
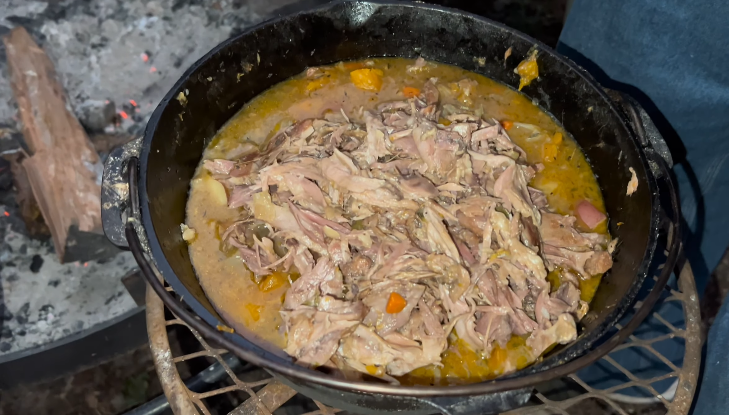
Step 1: Load the Pot with Aromatics
Place the rinsed ham hocks into a large stockpot. Add the chopped celery, carrot, onion, bay leaves, whole allspice, and black peppercorns. These aromatics will infuse the hocks with earthy, rich flavor as they simmer.
Step 2: Add Fresh Water
Pour in enough fresh water to barely cover the meat and vegetables. You don’t want to drown the ingredients; just a gentle covering is perfect for even cooking.
Step 3: Bring to a Boil & Simmer
Bring the pot to a boil over medium-high heat. Once it reaches a rolling boil, reduce the heat to low, cover the pot, and let the ham hocks simmer for 2 ½ hours.
Step 4: Check for Tenderness
After 2 ½ hours, the ham hocks should be fork-tender, with the meat pulling easily from the bone. At this stage, they are ready to serve.
Serving Suggestions
One of the best things about pickled ham hocks is their versatility. Here are my favorite ways to serve them:
- With Sauerkraut: A classic German pairing that balances the richness of the pork with a tangy crunch.
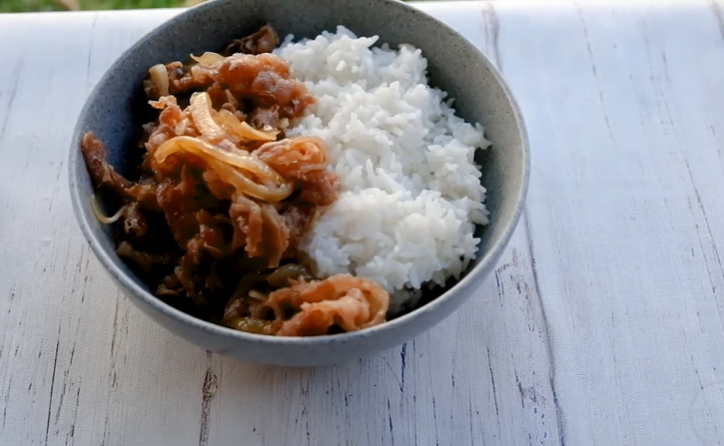
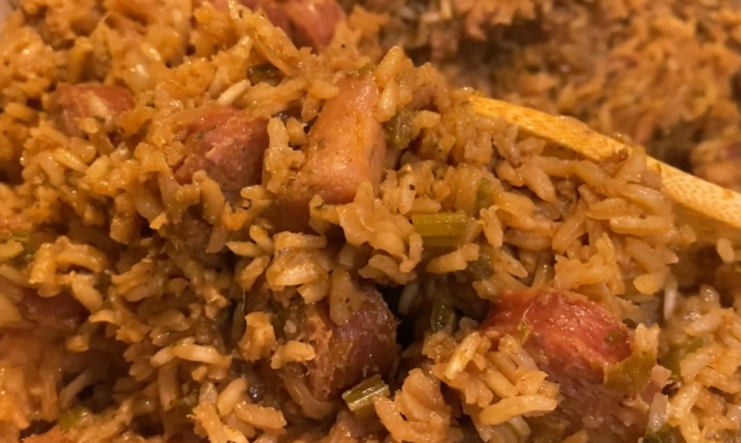
- In a Stew: Simmer them with the cooking broth and vegetables for a hearty, rustic meal.
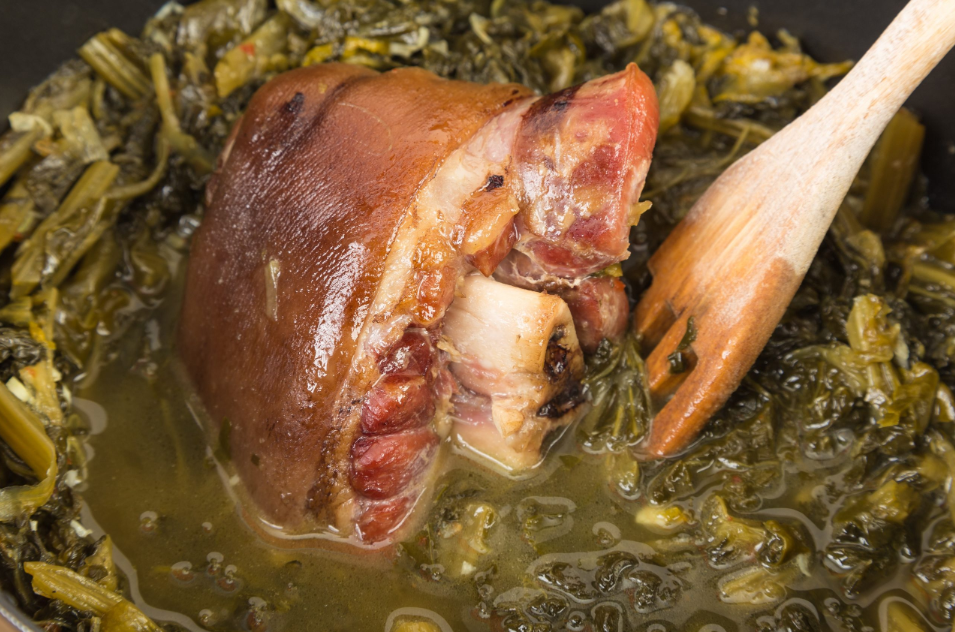
- With Southern Greens: Slow-cook the hocks alongside collard or mustard greens for a soul food favorite.
- In Bean Soup: Add the ham hocks to a pot of navy beans or split peas for an intensely flavorful soup base.
These serving ideas make pickled ham hocks not just a meal, but an experience rooted in comfort and tradition.
Storage Instructions
How to Store Cooked Ham Hocks
Once cooked, allow the ham hocks to cool slightly. Transfer leftovers to an airtight container and refrigerate for up to 3 days. The flavor actually deepens as it rests, making the next-day servings even tastier.
Freezing Instructions
If you’d like to keep them longer, you can freeze cooked ham hocks. Wrap each piece tightly in plastic wrap or foil, then place them into a freezer-safe bag. They’ll keep well for up to 3 months. When ready to enjoy, thaw overnight in the refrigerator and reheat slowly in a pot with a bit of broth or water to keep them moist.
Pickled Ham Hocks Recipe
Ingredients
Video
Notes
Required Kitchen Tools
Cooking pickled ham hocks is much easier when you have the right tools at your side. Here’s what I use to keep the process smooth and enjoyable:- Large Stockpot – Essential for both curing and simmering the ham hocks. It should be big enough to submerge the meat entirely.
- Heavy Plate or Weight – Helps keep the hocks fully submerged in the pickling solution.
- Large Mixing Bowl – Useful for mixing the pickling brine before transferring to the pot.
- Sharp Chef’s Knife – To cut vegetables and cross-cut the ham hocks if needed.
- Slotted Spoon or Tongs – For safely removing the tender ham hocks after cooking.
- Kitchen Thermometer (Optional) – To ensure the brine stays chilled properly during the marinating period.
Frequently Asked Questions (FAQ)
Can I use smoked ham hocks instead of fresh ones?
Yes, but keep in mind that smoked ham hocks already have a strong smoky flavor. If you use them, you may want to skip the 10-day pickling process and go straight to simmering with the vegetables and spices. The taste will be smokier and less tangy compared to traditional pickled hocks.
What’s the difference between pickled and brined ham hocks?
Both terms are often used interchangeably. In this recipe, the hocks are cured in a pickling brine (water, salt, and spices) for 10 days. This gives them a tangy, savory depth of flavor before they’re simmered until tender.
Do I really need to use saltpeter?
Saltpeter (potassium nitrate) is traditionally used to preserve color and enhance flavor in cured meats. However, you can omit it if preferred. The hocks will still pickle and cook beautifully, though they may look slightly less pink.
Can I shorten the marinating time?
The 10-day marinating process is ideal for deep flavor. If you’re short on time, you can cure them for at least 5 days, but the taste won’t be as rich or authentic.
What side dishes go best with pickled ham hocks?
Classic sides include sauerkraut, braised cabbage, collard greens, cornbread, mashed potatoes, or hearty soups like bean or split pea. These balance the richness of the pork perfectly.
Can I make this recipe in a slow cooker?
Yes! After curing and rinsing the hocks, you can place them in a slow cooker with the vegetables and spices. Cook on low for 6–8 hours or until the meat is fall-off-the-bone tender.
Conclusion
Making pickled ham hocks from scratch is a labor of love, but the results are gratifying. From the 10-day curing process to the slow simmer with aromatic spices, every step layers in flavor and tradition. The meat becomes tender, savory, and perfectly seasoned, an old-world comfort food that never goes out of style.
Whether you enjoy them with sauerkraut, greens, or in a hearty bean soup, these pickled ham hocks are versatile enough for both family dinners and special occasions. Plus, with proper storage, you can savor their flavor for days or freeze them for future meals.
So roll up your sleeves, start the brine, and let time work its magic. Once you take that first bite of melt-in-your-mouth pickled ham hocks, you’ll know the wait was worth it!

Sally Mckenney is a dedicated baking enthusiast and dessert lover who creates and shares delicious cake recipes and practical baking tips on Daily Bake Lab. Her passion for sweet treats inspires home bakers to explore new flavors and enjoy the art of baking.